New Year's Resolutions

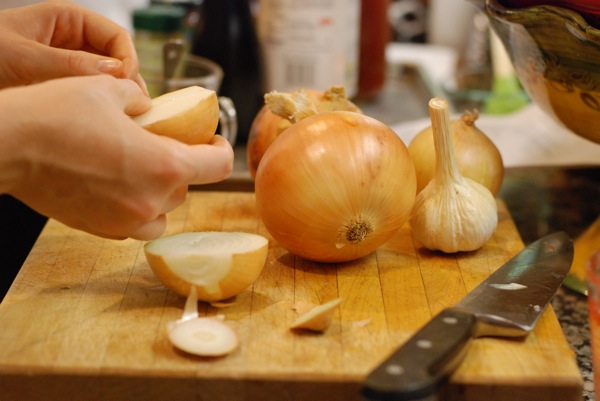
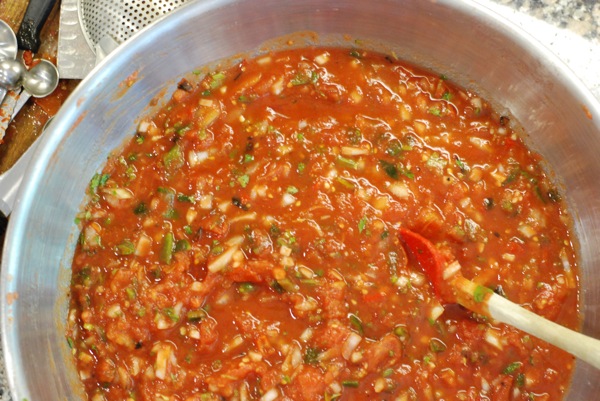
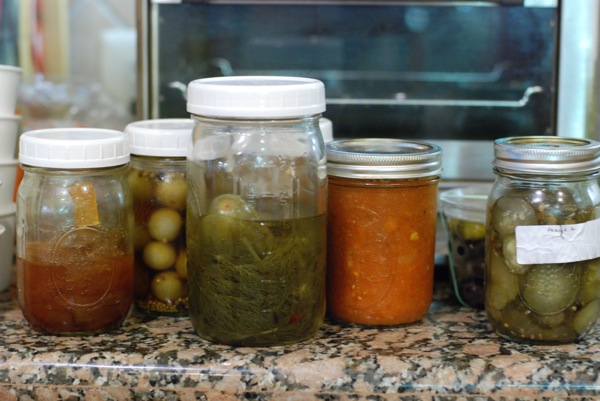
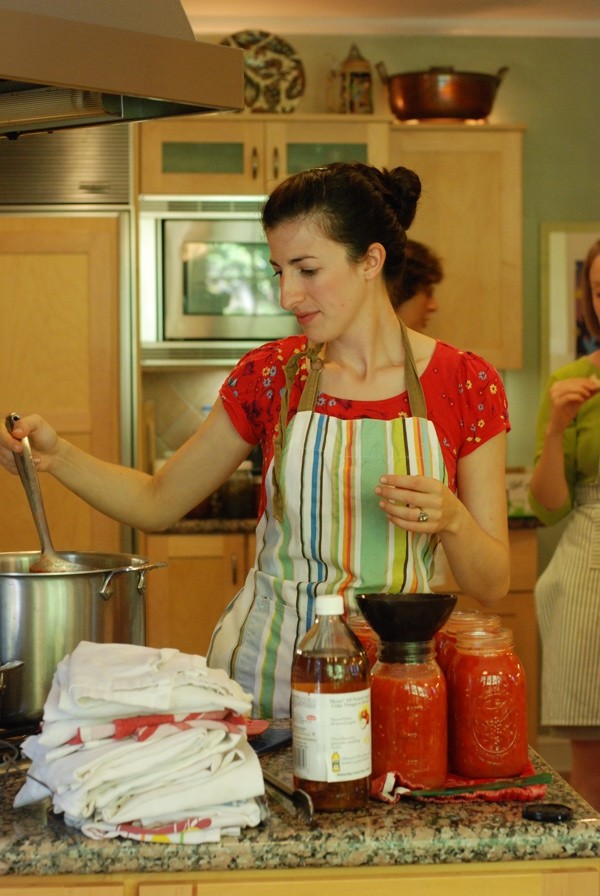
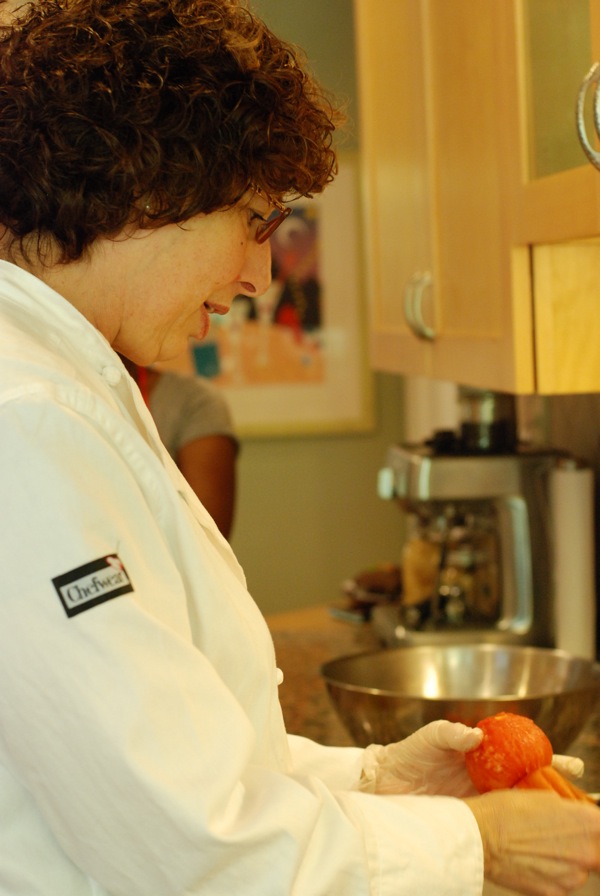
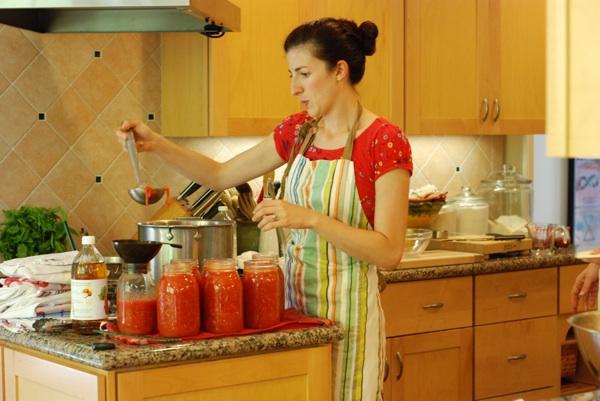
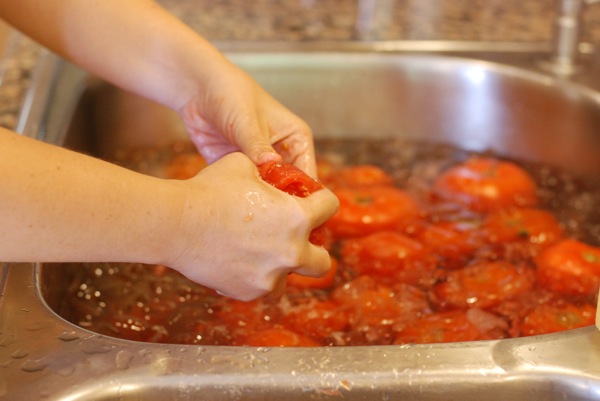
This past weekend, I an invigorating, inspiring Sunday in Mrs. Wheelbarrow's Kitchen. In five hours' time, we blanched, shocked, peeled, and squished tomatoes for canned crushed tomatoes. We roasted the heck out of tomatoes, carrots, garlic, and onion for roasted tomato-vegetable soup. We charred, peeled, and chopped peppers for roasted poblano salsa. We chatted all things food over salad greens, fig vinegar, pistachio oil, cheese and baguette, and brownies, all the while keeping a watchful eye on the pressure-canner. We dunked big jars of tomato mush into a boiling water bath, then listened to the music of "ping! pop!" as the lids snapped into place. We perused cookbooks and canning guides, gushed over Dorie Greenspan's lemon cream tart and Mrs. Wheelbarrow's own tamari almonds. We got giddy about dishes we love, laughed about Food52 cooks we stalk, and commiserated about recipes that had unexpectedly let us down. I left feeling a renewed sense of kitchen productivity, and -- more importantly for you, dear readers -- a renewed drive to share what I'd learned, share the things I've been thinking about.

It starts here, today.

I've always had a list of kitchen aspirations: dishes I'd like to learn to make, techniques I'd like to master, skills I'd like to acquire. For too long, that list has been relegated to the back bit of my brain. No longer. This is the year to learn those skills, conquer those fears, make those delicious things.

Today, I'm launching a new feature: Kitchen Resolutions. You'll see it on the left side bar. It's a short-but-growing list of things I'd like to accomplish this year. Yes, it's a bit random -- everything from "sharpen knives" to "confit a duck" and more -- but that's the idea. They're here, and they're public -- now I've gotta do'em.

I can't possibly be the only one out there with kitchen fears; it would be all kinds of awesome if you all chimed in. Surely, you must have some sort of culinary phobia. Have you always been afraid to use anchovies? Are you intimidated by roast chicken? Whatever it is, we can do it. Here's my deal with you. Leave a comment. Share that one thing (or two, or three) that's got you stumped. I'll pick some of the entries over the next few months, and I'll post step-by-step tutorials, with pictures and everything.

If you don't, I'll go at it alone. But wouldn't it be so much fun to have company?

Meanwhile, I'm going to start crossing things off my own list. For starters, kimchi: check. And pressure canning? That's a check-plus, as of Sunday.

Cathy, aka Mrs. Wheelbarrow, is the canning expert in these parts. She offered all sorts of helpful tips on how to can properly and safely. First and foremost: when canning, follow the recipe. Canning isn't friendly to improvisation. Think the jam is too sweet? Want to cut the sugar? Don't. The ratio of fruit to sugar is an important element of successfully canning jam, and if you alter that ratio, your fruit may not preserve properly and could spoil on the shelf. Also important: ensuring sufficient acidity. Acid keeps food from spoiling, so don't skimp on that lemon juice. In fact, as we were finishing up our crushed tomatoes, Cathy explained that for canning (and only for canning), she uses bottled lemon juice. The flavor pales in comparison to that of freshly-squeezed lemons, but the acidity is consistent in the bottled stuff, whereas with lemons, you never know how acidic they'll be. Consistency is the key to success in canning.

There are two ways to can at home: a hot water bath and a pressure canner. More acidic things require only a hot water bath, which heats to 212º, or boiling. Products with lower acidity (our tomato-roasted vegetable soup, for example) must be processed using a pressure canner, which heats up to 241º, the temperature at which botulism dies.

Once cans have been filled, covered, and processed, you should leave them undisturbed. As the liquid inside the jars cools, the lids will be sucked downward onto the jar, and they'll pop into place. When the popping starts, you know the jars have sealed. After leaving jars for 24 hours, you test each to ensure that it has sealed properly. How to do this? Simple. Remove the band (that's the thing you screw onto the jar to hold the lid in place) and lift the jar by its lid (not too high off the table, in case the seal isn't strong and the jar drops). If the jar lifts, the seal is strong enough, and the jars are ready for storage. All home-canned food should be eaten within one year of processing.

There's so much more to tell, but that's for another time. For now, I hope you enjoy the pictures of our Sunday canning adventure, and that you start thinking about that one kitchen fear you've always wanted to conquer. Bring on the comments!

Sour Cherry Liqueur

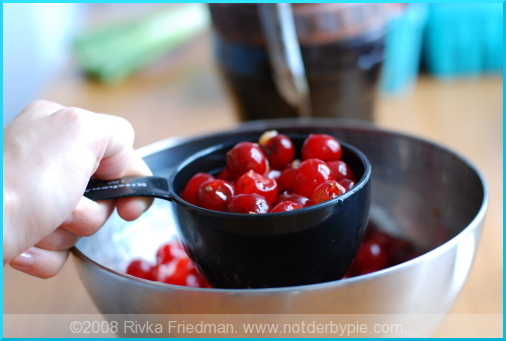
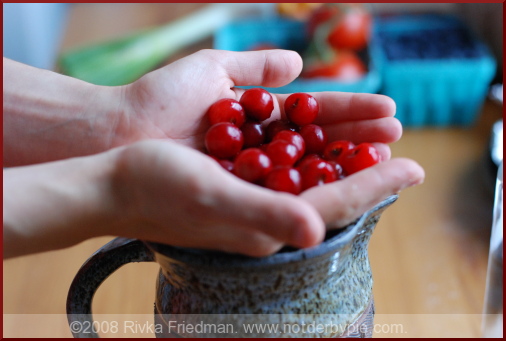
cherryliqueur1 It's officially sour cherry season! I got my first quart at the market today, and I simply can't wait to turn them into this lovely aperitif. Originally posted last July, sour cherry liqueur is back!
Want to do something awesomely cool and really flippin' easy along with me? Make sour cherry liqueur. It's the height of sour cherry season, and markets are bursting with those tart little bubbles of juice. The season's pretty short: I was thinking of hitting up a u-pick next week to get some sour cherries out in the countryside for cheap, but they said they'll be gone by Sunday. So grab some now, like, now now, and put them to use in a way that'll keep well into the fall.

cherryliqueur2

My dear friend Dellie had D and me over for an early Thanksgiving dinner last November, and her mother served this liqueur as an aperitif. I was totally blown away: it was sweet, very sweet, but also tart and zingy. It tasted strongly and distinctly of sour cherries, and sipping it sent waves of summer nostalgia down my spine. I sauntered into the kitchen where I found the always-graceful Mrs. S pulling a whole turkey out of the oven to rest. What better time to bother someone for a recipe? She said to come knocking again when it was sour cherry season, and she'd give me the rundown. Unlike most other things, I didn't forget this promise, and last week, I emailed Mrs. S begging her recipe. She graciously obliged, and her instructions were so thorough that I can easily share them with you. Granted, you won't be tasting the fruits of your labor until the fall -- but if you feel like preserving some of summer's bounty in this unusual way, I can promise that your patience will be well-rewarded.

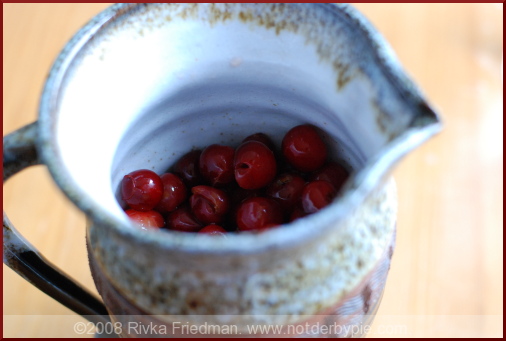
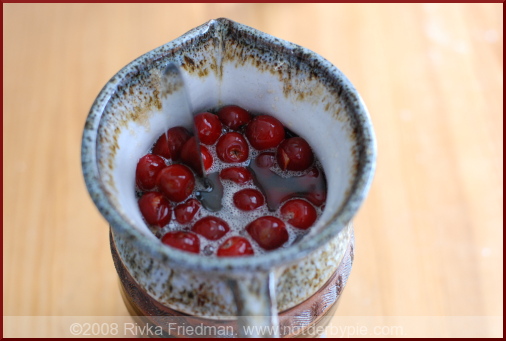
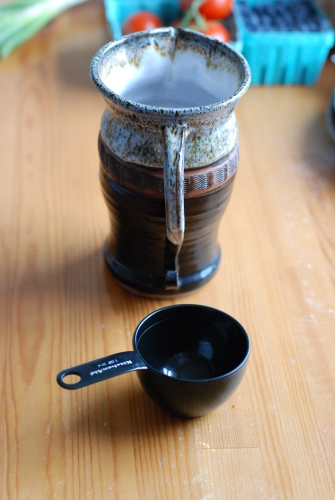
That's a knife jutting out of the pitcher -- I used it to stir the stuff, and I did fill it to the top after taking the pic.

Update! I've stirred (and tasted) the sour cherry liqueur twice now, and it is freakin' amazing!

Sour Cherry Liqueur adapted from Mrs. S's recipe

For this recipe, you will need a crock of some sort: Mrs. S's crocks are salt-glazed antique crocks made in central Va. over 100 years ago, for preserving & storing foods. I'm not that fancy; I just used a relatively large ceramic pitcher. You can use anything that is dark glass or ceramic of some similar sort.

cherryliqueur7

The quantities used really depend on the size of your crock, so the instructions below are in proportions instead of absolute amounts.

cherryliqueur3

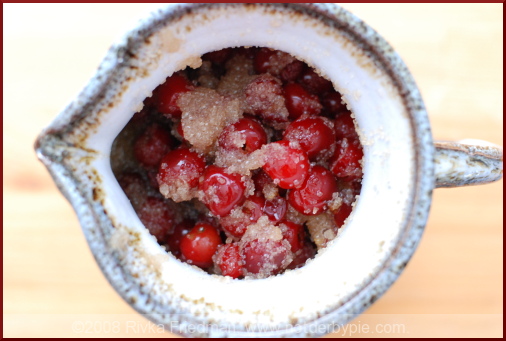
Cherries: clean & pit the cherries, except that for every cup of cherries, leave about 1/8 of the cup unpitted (adds character & depth to the liqueur) Sugar: use about 3/4 cup sugar for every cup of cherries (cherries should be tightly packed). I used organic cane sugar, but white sugar is just fine. In fact, I can't promise that my cane sugar will work -- I just assumed. Here's hoping!

cherryliqueur4

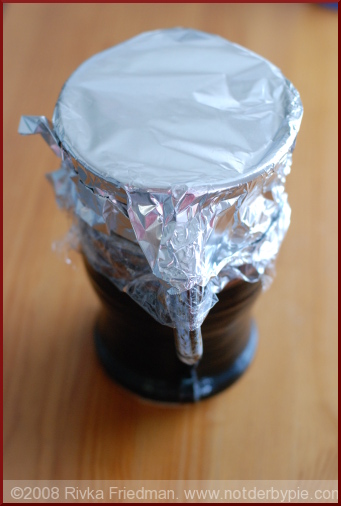
Fill the crock 1/2 - 2/3 full of cherries & sugar (in proportions above), and stir. Then fill to the brim with white rum, and stir. Cover tightly with plastic wrap (using a rubber band to secure it) and foil (to shut out light), and store in a dark, cool place. Stir with a wooden or plastic non-reactive spoon about once a week. The sugar may take about a month or so to fully dissolve. Taste from time to time: cherries that are very sour may require additional sugar once the first batch has dissolved completely.

cherryliqueur6

It should be ready mid-September. The cherries will have lost much of their color, and the sugar will have all dissolved. The flavor should be pretty rich. You can pour into decorative (dark glass) bottles and cork, but leave a few pitted cherries in each bottle. The "extra" cherries are great on pound cake, over ice cream, or however you would use canned cherries.

You could add cinnamon sticks, if you like, but Mrs. S likes the purity and simplicity of cherries.

So pack your crocks and get ready to wait -- let's do this thing!

Preserved Lemons

I like sour things. I don't mean tart or citrusy or with a faint hint of brightness; everyone likes that. I mean sharply, brightly, eye-squintingly mouth-puckeringly sour. I've been known to suck on the end of a lemon wedge on occasion. I love lemon-based vinaigrettes. Basically, if something's a bit on the tart side, squeeze that lemon a couple more times, -- op, maybe once more -- give it one last little shake, yep just like that, and I'll take it, thankyouverymuch.

But lemons aren't the one-note that my sour obsession might suggest. They're among the more versatile ingredients in your fridge, actually. In fact, when the kind folks at Washingtonian asked me if I had any advice for new cooks, I suggested keeping fresh lemons on hand, because they very often end up being the finishing touch to whatever it is I'm making. You've got the juice, fruity and sour and just a bit sweet at times; then there's the zest, more mellow in tartness but fully present in aroma and flavor; and if that's not enough dimension, there are endless things you can do to lemons to radically change the flavors they bring to the table, such as grill them, braise them, candy them, or....preserve them.

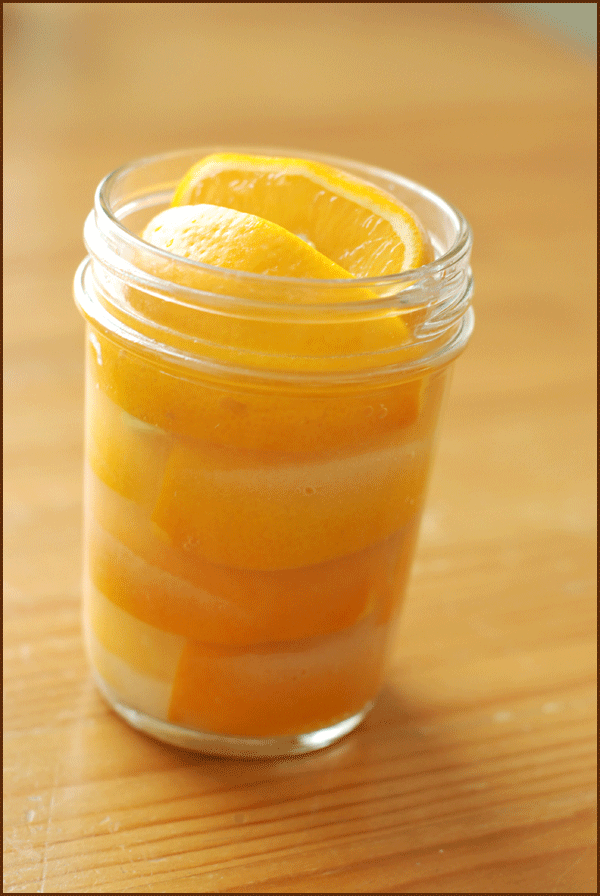
So what are preserved lemons, you ask? I'll tell you this: their name is quite deceiving. If you're thinking preserves, think again. This ain't no jam. It's not even sweet. It's completely and utterly savory, in the most wonderful sense. Instead of preserving lemons with sugar as in marmalade, here you're preserving them in salt. The lemons are either sliced, quartered, or packed whole into jars layered with plenty of salt and enough lemon juice to fill the jars, then allowed to sit about on the countertop for several days (or weeks) until the salt and lemon and time work together to do their magic. The result is at once vigorously tart and deeply aromatic. It hits sour and sweet and salty, yes salty, and then it opens up and hits you with floral, spicy notes. If fresh lemons are the finishing touch to many recipes, preserved lemons are the cornerstone to some truly spectacular food.

Did I mention that they're an absolute cinch to make? That's right folks. Have your cake and eat it, too.

Preserved Lemons

4 Meyer lemons, or regular lemons if Meyers aren't available 1/4 cup salt, more as needed extra freshly-squeezed lemon juice if needed 2 cloves or 1/8 teaspoon ground cloves 1 sterilized half-quart jar

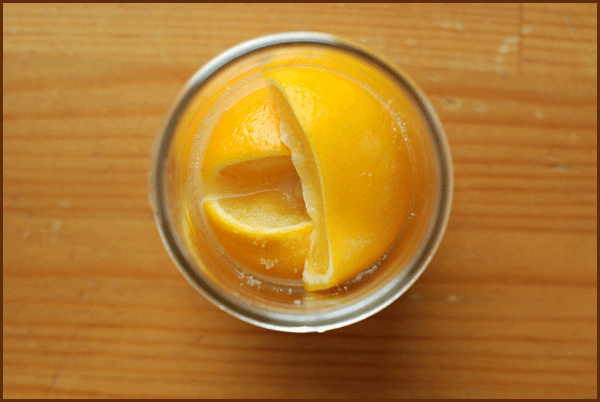
Clean lemons very well and blot dry. Slice lengthwise into quarters. Add a sprinkle of salt to the bottom of the jar, and pack 2 quarters tightly into jar, pressing so that quarters emit their juice a bit and most air bubbles rise to the top. Sprinkle salt overtop. Continue layering lemons and salt this way until jar is full. Add cloves. Add extra lemon juice if necessary to fill jar, and top with a final layer of salt. Seal jar, shake a couple of times to distribute salt and lemons, and then set on counter for a few days, up to a week. Shake and turn up and down once a day. After several days, transfer to the fridge for about 3 weeks, turning once a day. At the end of three weeks, peels will be sufficiently tender.

To use, rinse lemon quarter to remove salt. Remove pith if desired (not necessary) and use in Moroccan and Middle Eastern dishes.

Sugar High Friday: Toasted Edition, the Roundup!

toastedflour1 It always takes me a while to get over the end of summer's abundance; I spend a good part of September missing peak tomatoes and fretting about corn's impending end. But once October comes around, I'm fully ready for fall, which brings pleasure of a different sort.

Once I've left summer behind, I'm ready for the reds, oranges, and deep golden yellows of the leaves in Rock Creek Park. I'm ready to put on one of those big, chunky sweaters, a pair of my favorite jeans, and my steadfastly loyal black riding boots, and take a walk through the park. I love the crunch of those leaves beneath my feet. the crisp chill of the air that sneaks between my scarf and the neck of my sweater, the smell of my favorite lip balm that makes its annual debut this time of year. It's fall, people.

When the air is as crisp as the leaves, I often find myself standing over the stove, watching walnuts toast and inhaling that intoxicating smell, and occasionally sneaking my hands out of my sweater sleeves for a quick toasting of their own over the hot pan.

toastedflour3

Fall is the perfect time for all things toasted. Toasting can intensify the flavors of nuts and spices, caramelize the natural sugars in fruits and even some vegetables (like onions), and bring out rich, nutty undertones that might otherwise remain dormant in the food we eat.

With yours truly playing hostess, Sugar High Friday's Toasted Edition is finally here. Several wonderful bloggers cooked up some scrumptious-looking desserts, all of which incorporated at least one toasted element, and I've made something toasted of my own -- something fairly unconventional, which I hope you'll enjoy.

But without further ado, the round-up:

dhanggitskitchen

First, we have Dhanggit of Dhanggit's Kitchen, who made a Pineapple, Toasted Almond and Rum Cupcake. Bright flavors, but the toasted almond lands this dessert squarely in fall territory. Looks delicious!

erbeincucina

Next, we have Graziana from Erbe in cucina (Cooking with herbs), who made Cinnamon Basil Pancakes. I'd never heard of cinnamon basil before, but it sounds fascinating! Graziana says you can substitute regular basil and a bit of cinnamon if you don't have access to a cinnamon basil plant.

SN852844

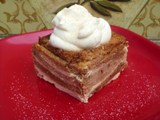
Up next is Rocquie from Sage Trifle, who baked up some delicious-looking Cinnamon Toast Bread Pudding for all of us to drool over. It's hard to imagine what could be better than layer upon layer of cinnamon toast sandwiching pecans and raisins and topped with whipped cream. 'Scuse me for drooling!

fahrenheit350

Then there's Kitty from Fahrenheit 350°, who made something she calls Pear Eclipse: call it what you will; it's got homemade puff pastry, pears, and mascarpone cream. Say no more.

aficionado

And last but not least, Cathy from Aficionado made a Toasted PB and Choco-Banana Sandwich, a recipe that comes complete with its own warning label: Do not make this at home, says Cathy! Seriously. It's dangerously unhealthy and, if I had to guess, dangerously tasty.

There you have it -- our Sugar High Friday Toasted Edition Round-up! Thanks to all who contributed, and I look forward to trying my hand at some of these sweet treats.

My submission to this month's event is the shy girl-next-door to the queen bees listed above. It's ingredients are more simple, and its toasted flavor is more subtle, though plenty complex. I was inspired by Clotilde's post on Chocolate and Zucchini a while back about re-imagining her favorite sable recipe using a technique from Pierre Gagnaire: Clotilde remade her mother's sables, but subbed toasted flour for the regular raw flour called for in the recipe. The resulting dough may have been hard to shape, but she just swooned over the "grilled" flavor that came through in the finished product. I simply had to try my hand at this.

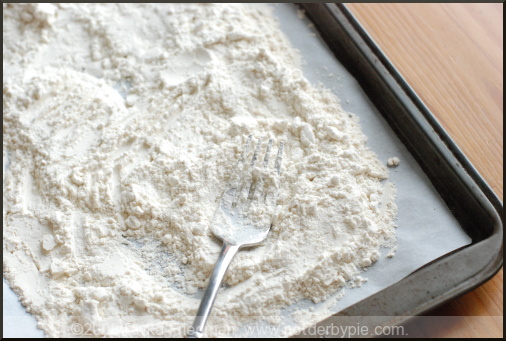
Clotilde explains that the concept of toasting flour is similar to roasting coffee beans, the goal being to partially carbonize the beans and make them more fragrant. Toasting flour isn't hard: you spread it in a thin layer on a rimmed baking sheet, and pop it in a 320-degree oven for about 20 minutes, stirring every 5 minutes or so, until flour smells nutty and fragrant. The flour won't take on much if any color, so let your nose guide you.

toastedflour2

One thing to note about toasted flour is that, not surprisingly, its chemical structure is different from that of regular flour, and weakens the gluten molecules, which makes toasted-flour dough less elastic than its traditional counterpart. While it wouldn't be ideal for bread-making, toasted flour is perfect for sables or sand cookies, which are meant to have a more crumbly consistency.

In deciding which sable recipe to make, I considered several possibilities. Poilane, the famed boulangerie in Paris, has a most delectable sable they call "punitions" (punishment cookies, though eating them is exactly the opposite). The sable comprises just wheat flour, sugar, butter, and eggs -- nothing else -- and achieves both flavorful simplicity and textural perfection. I agreed with Clotilde that vanilla and other flavorings should be withheld to let the flavor of the toasted flour shine through on its own, so Poilane was certainly a possibility. I was intrigued, however, by Clotilde's sable recipe, which calls for milk. I suspected that the milk might lend the cookies a smooth, velvety quality, and was curious to try it out. In researching sable recipes, I also found that some bakers prefer a mix of granulated and powdered sugar, which is said to act more like a liquid and make the sables softer. I knew I wanted a crisp, crunchy cookie, so powdered sugar was out.

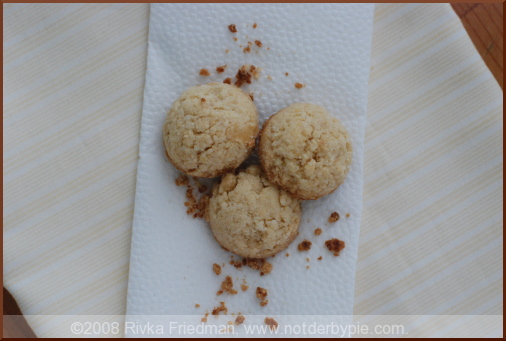
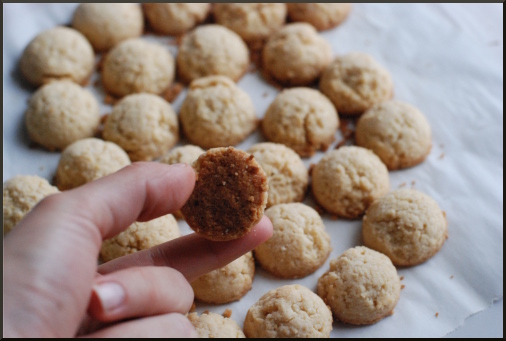
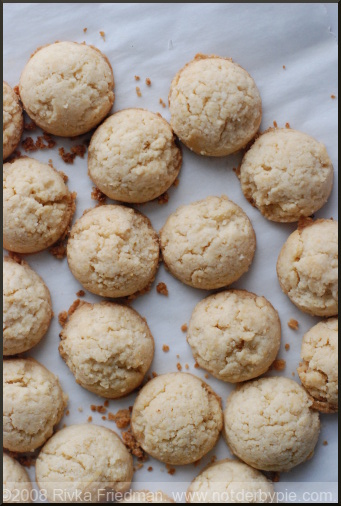
In the end, I settled on a mix of Clotilde's and Poilane's recipes, including salt and milk (which Poilane doesn't) in my dough. I found, as Clotilde did, that the toasted flour made for a very crumbly dough that fought my efforts to make it adhere; undeterred, I pulled out my trusty melon baller, using it to compress little half-spheres of dough and rapping it a few times against my baking sheet to release the mounds. So I had button cookies instead of the flat, cylindrical wafers I'm used to; I guarantee, they tasted no less delicious. The sables were just as pure and simple as they always are, only their flavor was more intensified. No vanilla was needed, and I'm glad I didn't include it; once toasted, the flour became a flavoring agent strong enough to stand on its own. I'm glad I included the salt, though, because it added another dimension in which to taste that nuttiness of the toasted flour. And the texture was just so interesting: more crumbly than traditional sables, perhaps less sandy. Needless to elaborate, I really, really liked them.

toastedflour4

I'll provide the recipe I used, but definitely feel free to experiment: try your favorite sable recipe, or even a chocolate cookie. Who knows? Toasted flour could be the next big thing. I might try it next in linzer cookies, which I made this week and quickly devoured. But definitely do try toasting flour; its flavor is unlike anything I've ever had before, and I can't wait to explore its many possible uses.

Toasted Flour Sables adapted from Clotilde and Poilane Bakery

1 1/2 cups all-purpose flour, toasted according to instructions above (in a 350-degree oven for 20 minutes); if you've ever considered splurging on fancy farmers' market flour, this would be the time 1 stick butter, cut into chunks 1/3 cup sugar 1 egg yolk 2-3 tablespoons milk 1/2 teaspoon salt flakes, the best you've got

In the bowl of a food processor, combine flour, sugar, and salt. Pulse a couple times to combine. Add butter, and process until dough forms fine crumbs. Add egg yolk and pulse a few more times to incorporate. Then add milk, one tablespoon at a time, and pulse until dough is moist enough that when you squeeze it, it sticks together.

Line a baking sheet with parchment paper. Using a melon baller or two teaspoons if you prefer, gather clumps of the dough right from the processor bowl and press against the side of the bowl to ensure that dough holds together. Turn the melon baller upside so that the cookie inside can fall onto the cookie sheet, and rap the melon baller against the sheet until the cookie falls out. Organize cookies on the baking sheet and refrigerate 1 hour to harden. Bake at 350 degrees for 15 minutes, watching them carefully all the while, until they're golden at the edges. Let rest for 5 minutes, then transfer to a cooling rack.