Chilaquiles

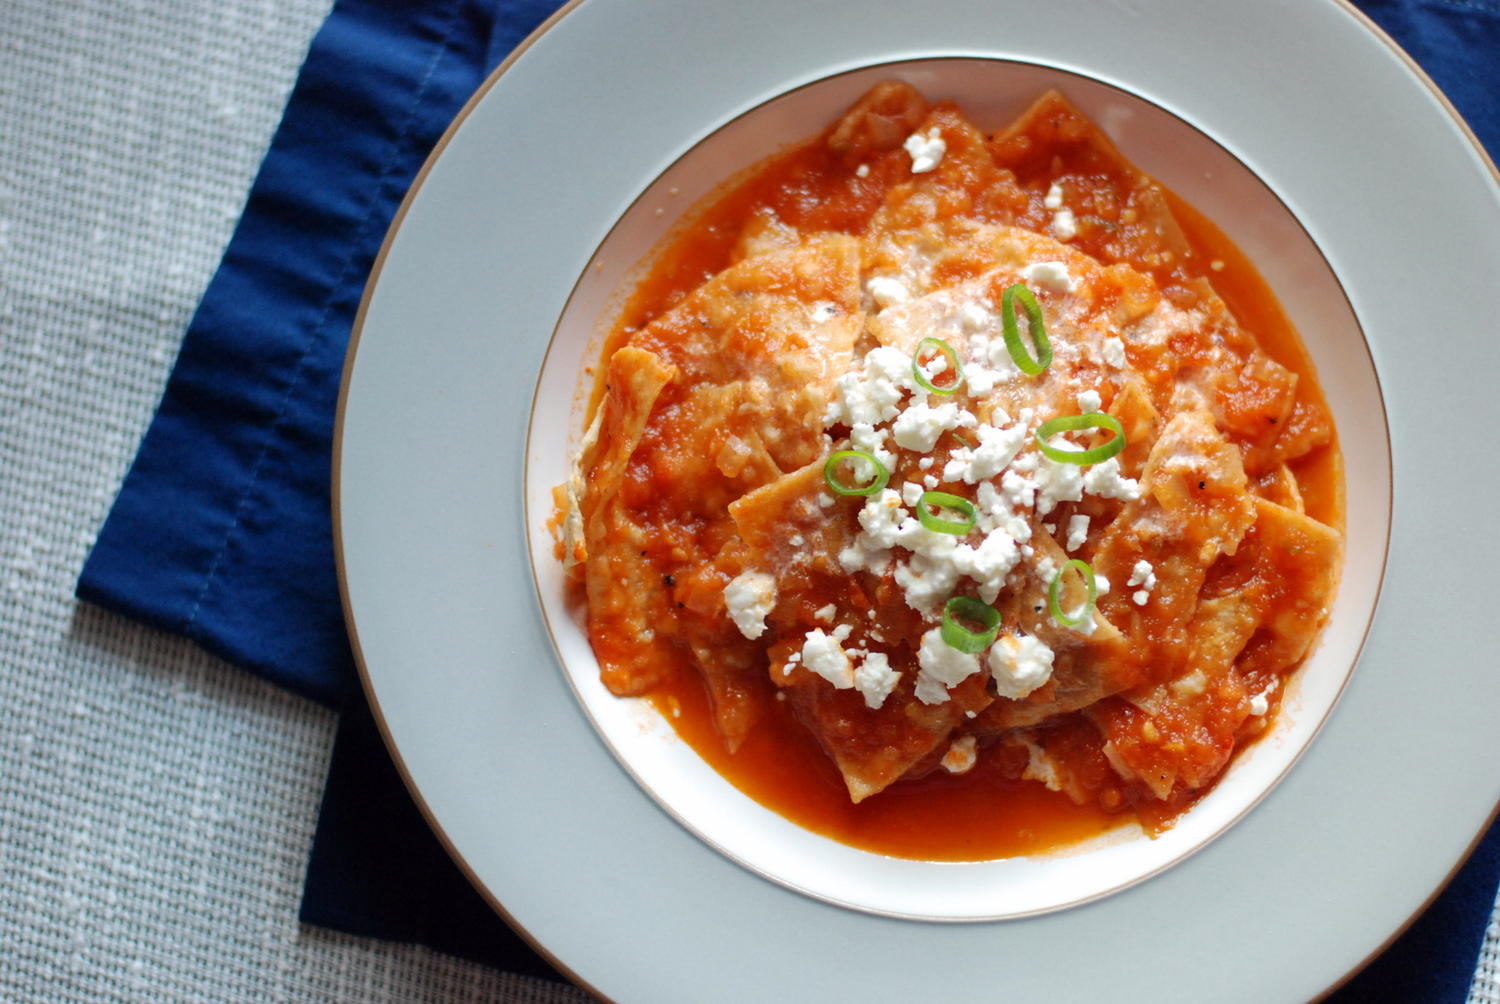
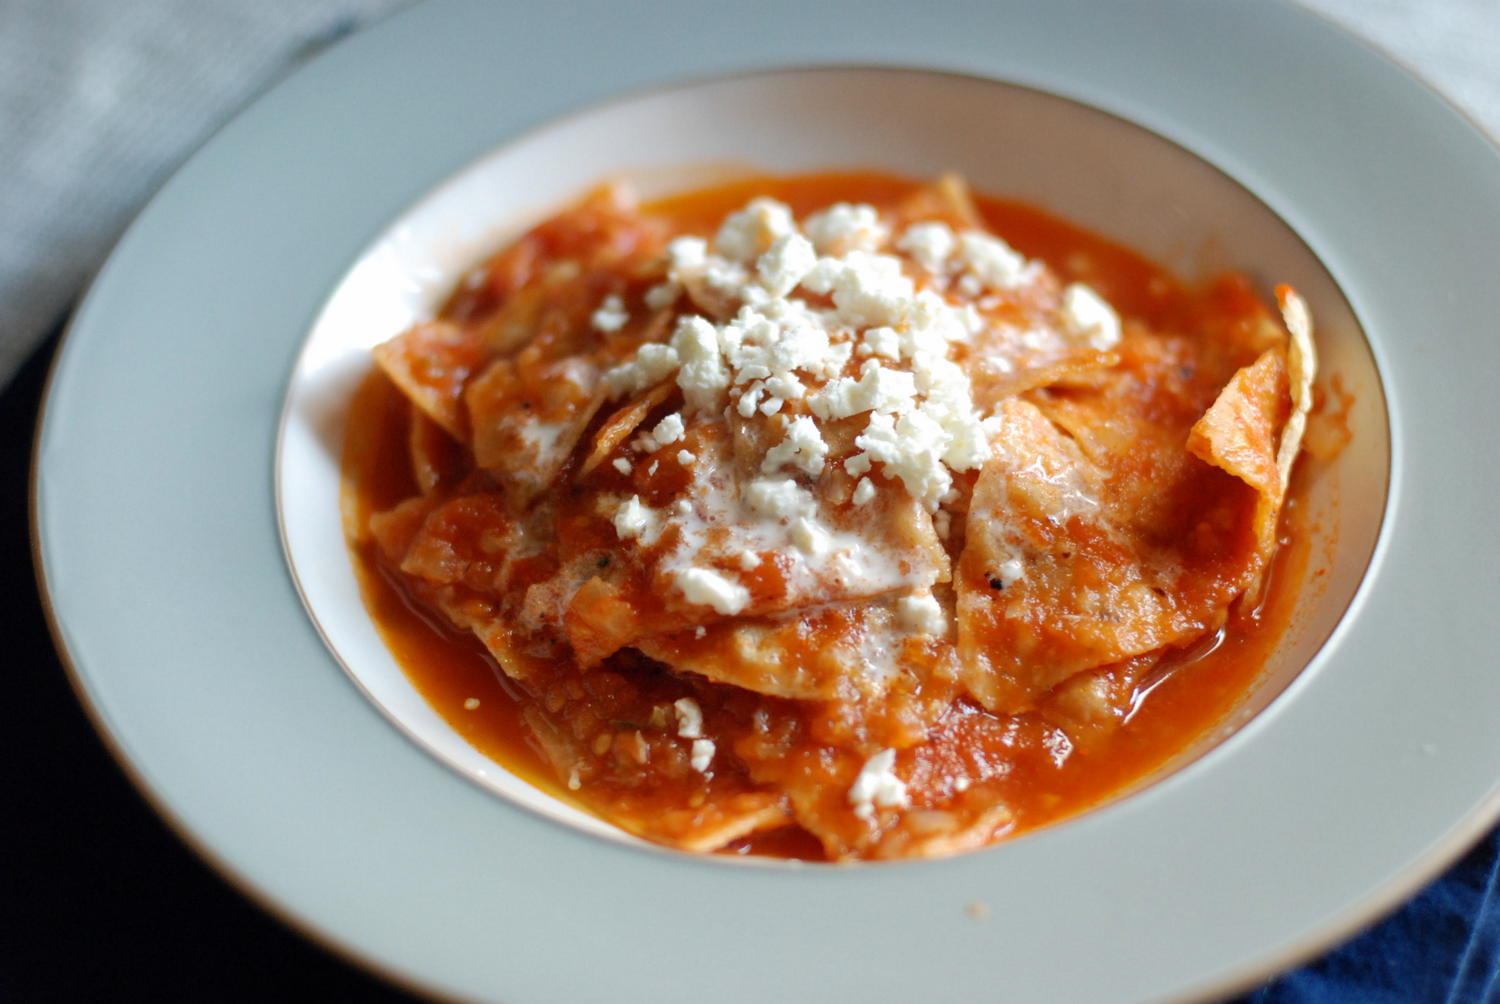
1-DSC_0764 This is the most glamorous thing to do with the half-bag of stale tortilla chips languishing at the bottom of your snack drawer. (Come clean: it's there.) Instead of throwing them away -- or, as I do, letting them sit there getting even more stale until not even the greatest of hunger pangs can motivate you to open the bag, and then throwing them away -- you can dunk them into a vat of good ranchera sauce, pile on some toppings, and call it breakfast. Yes, I'm telling you to eat tortilla chips for breakfast. I'm sorry, do you need more convincing?

Somehow, in a feat of magic and wonder, you can soak a tortilla chip in sauce, and it stays just crunchy enough to make for a delightful meal. If you put a bit of queso fresco and some scallions on top, it even starts to look healthy. I admit, it's confusing. In a very good way.

1-DSC_0744

Yet another recipe from Roberto Santibanez's excellent book, these chilaquiles remind me of the ones that we had a few summers ago in Santa Fe. If I were feeling ambitious, I'd make both the red and the green sauce in his book, and serve the chilaquiles "divorciados" (half red, half green). But on a lazy Saturday, that kind of potchkeing isn't in the cards. I've got half a bag of semi-fresh homemade tortilla chips from Luna's Tortillas, which I visited on last week's business trip to Dallas. I have a jar of ranchera sauce in the fridge, as well as a bit of fresh feta cheese and heavy cream (two very fine substitutes for queso fresco and crema). No cilantro, but I've got scallions from my CSA. Five minutes later, I have chilaquiles, a happy stomach, and a bebe who, from the strength of its kicking, seems to enjoy breakfast as much as I did.

Chilaquiles Adapted lightly from Roberto Santibanez's Truly Mexican Serves 2

1 recipe ranchera sauce (see below) 1/4 teaspoon dried epazote or 1 sprig fresh epazote, optional 60 tortilla chips, about half a large bag 1/4 cup queso fresco or crumbled feta cheese 2 tablespoons crema or heavy cream (or substitute sour cream or yogurt thinned with a bit of water) 2 tablespoons chopped cilantro or diced scallions

Add the ranchera sauce, the epazote, and 1/2 a cup of water to a deep saute pan and set over medium heat. When sauce is simmering, remove epazote sprig (if using).

Set out two shallow bowls along with the correct portions of the other ingredients; once the chips go in, you want to be able to serve the chilaquiles as quickly as possible, before they go limp.

Add the chips to the sauce, stir gently to coat each chip with the sauce, and let steep until chips have softened but are still crunchy at the core, 1-2 minutes. Use a slotted spoon to transfer a heap of chips and sauce into each bowl, and top with crema, queso/cheese, and scallions/cilantro. Serve immediately.

Ranchera Sauce Adapted lightly from Roberto Santibanez's book Truly Mexican Makes a little more than 1 pint

1 1/2 pounds tomatoes (about 4 medium-large)
1 fresh serrano or jalapeno chile, coarsely chopped, including seeds
1 large garlic clove, smashed and peeled
2 tablespoons mild olive oil 
2/3 cup diced white onion
1/2 teaspoon sugar
3/4 teaspoon kosher salt, or rounded 1/4 teaspoon fine salt
1 (1-inch) piece canela (Mexican cinnamon) or regular cinnamon, or 1/4 teaspoon ground cinnamon

Set the oven or toaster oven to broil and preheat. Alternatively, you can preheat the oven to 500 degrees F. If you’re using the broiler, position the rack 8 inches from the heat source.

Core tomatoes and cut a small "X" through the skin on the opposite end of the core. This will make it easier to slip off the skin. Roast the tomatoes (Santibanez recommends cored sides up but I did the opposite) on a foil-lined baking pan until their tops have blackened and the tomatoes are cooked all the way through, 20 to 30 minutes. Remove from the oven and set aside for 5-10 minutes to cool. Then slip off the skins.

Put the tomatoes, chile, and garlic in the blender jar, and blend until smooth. Alternatively, transfer them to a large bowl and use an immersion blender to puree the mixture. Either way, be careful when you’re blending hot ingredients: if using a blender, cover the top with a kitchen towel, hold the top firmly in place with your hand, and start blending using short pulses before going on full speed, to avoid an explosion.

Heat the oil in a medium heavy saucepan over medium heat. Add the onion and cook, stirring, until the onion is translucent, about 5 minutes. Add the tomato mixture, and bring to a boil. As the tomato mixture is cooking, swish 1/4 cup of water around in the blender jar and add it to the pan. If you used a bowl and immersion blender, you can do the same, and use a spatula to scrape the bits of sauce from the bowl into the pan. Reduce the heat, stir in the sugar, salt, and cinnamon, and simmer the sauce, stirring occasionally, until it has thickened slightly, about 20 minutes.

The sauce will keep for at least a week in the refrigerator; Santibanez says it keeps in the freezer for one month, but I think that estimate is conservative.
 

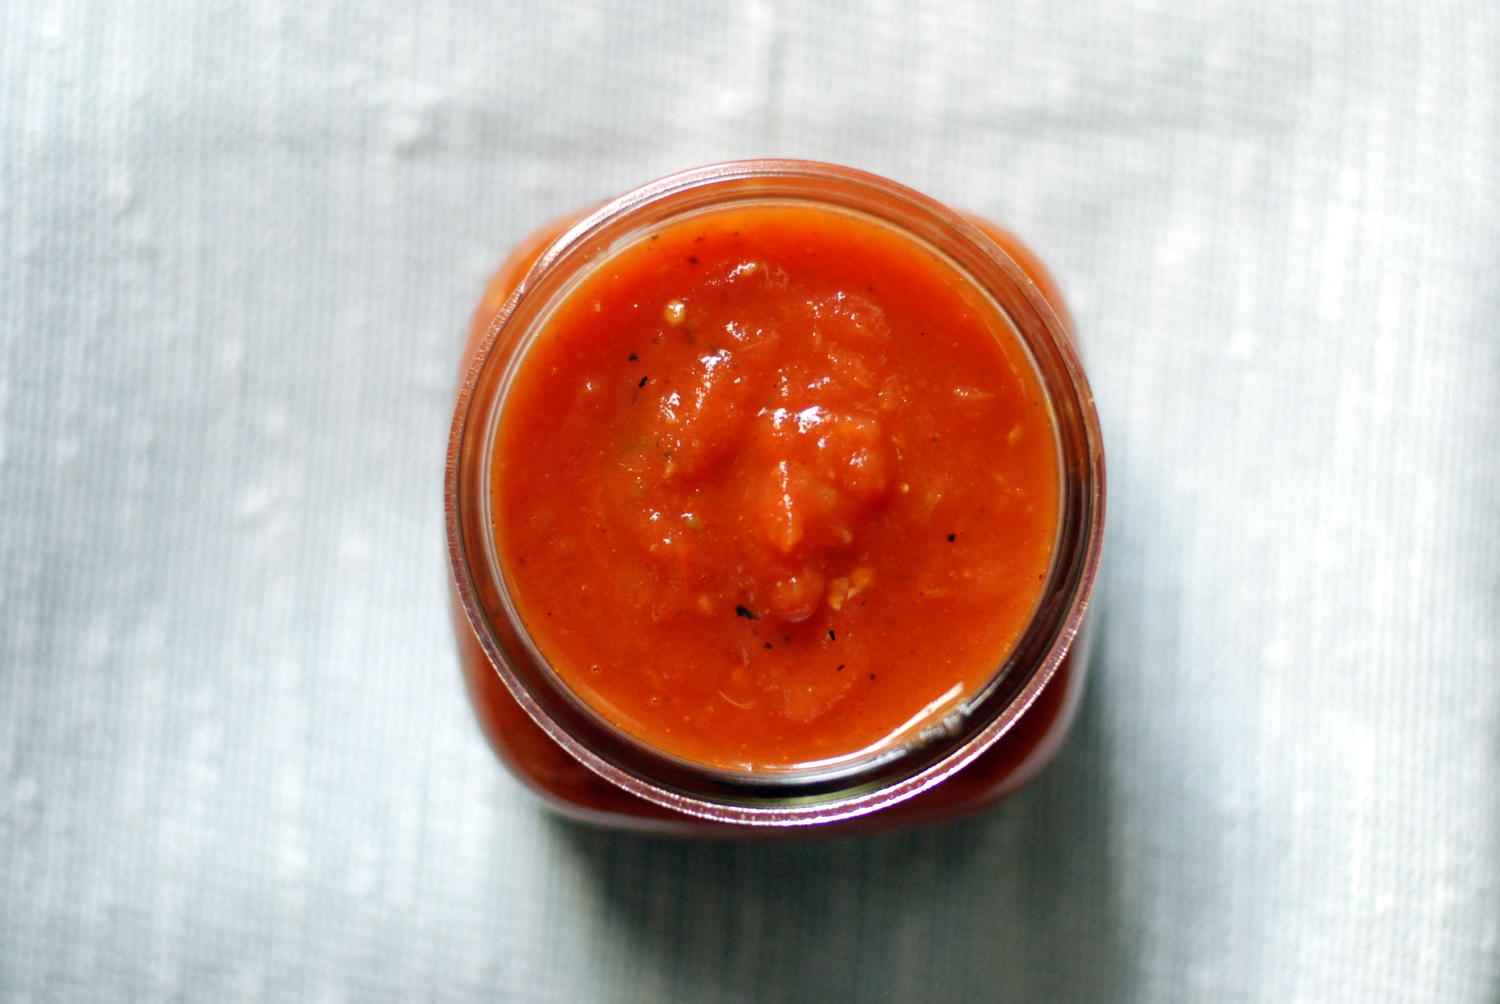
Ranchera Sauce

1-DSC_0783 My usual version of enchiladas starts with a glance in an empty fridge, a brief utterance of four-letter words, a recollection that the pantry has both a jar of salsa and a jar of tomato sauce, and a dash to the corner bodega for corn tortillas. It's not glamorous, but it gets the job done.

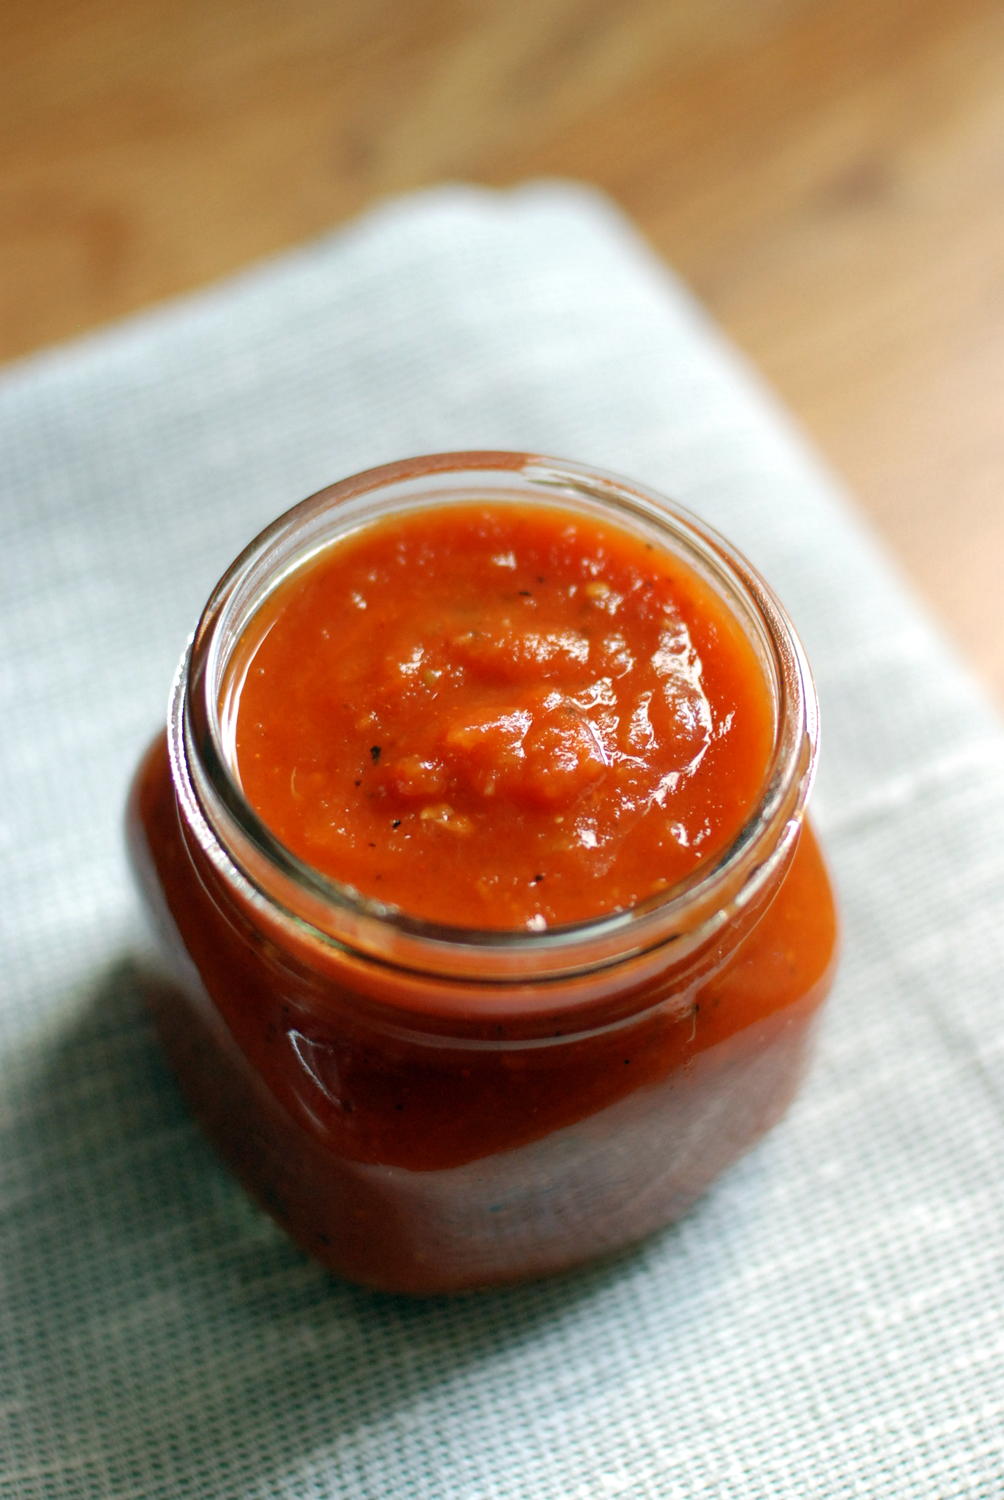
These days, though, I'm making them from scratch. Turns out, it's not all that complicated. All you need is a batch of Roberto Santibanez's ranchera sauce, and you're most of the way there.

Back in 2012, Santibanez wrote a book called Truly Mexican. In the quarterfinal round of Food52's cookbook contest, The Piglet, Truly Mexican lost to Nigel Slater's Tender (one of my favorite cookbooks), and the judgement seemed unjust: the cartoonist Roz Chast drew the most absurd, unconsidered evaluation of the book, dinging it for making her roast chilies (the smell made her cough - the horror!), and for calling for smoky ancho chilies: she substituted plain green chilies and the recipe came out bland, go figure. I -- along with many Food52 loyalists - was angry. Here was a cookbook that others had lauded for its best-ever guacamole and excellent, instructive corn tortilla recipe, and Chast made a recipe for which she didn't have the proper ingredients, then blamed her failure on the book. Correcting the injustice in my tiny way, I went out and bought Truly Mexican.

1-ranchera sauce1

This was not a mistake. Santibez takes what often feels like a confounding cuisine and makes it approachable. His prose and instructions have none of Diana Kennedy's chiding; instead, he recommends substitutions where appropriate, and tells you frankly when an alternative just won't do. He also has a section on salsas and another on moles and pipians, both of which are so thick that the entire middle of his book is devoted to sauce. As someone who sees solid food as a vehicle for flavored liquid, this delights me.

It also makes the book feel like a reference guide. A few times now, I've made a big batch of one of Santibanez's sauces, poured it into a jar, and used it across the week on any number of things (folded tortillas, fish, scrambled eggs, etc). I love cooking this way.

1-DSC_0777

Santibanez's ranchera sauce is simple, but it's perfectly balanced. When you lean over the stove and take a sniff, it smells authentically Mexican, i.e. nothing like the hack job I used to use for my enchiladas. And because it really is so versatile, I also use it for migas, and for chilaquiles, which I'll tell you about later this week. First things first: make a batch of the sauce. Better yet, make a double. Then let's talk about how delicious it is.

Ranchera Sauce Adapted lightly from Roberto Santibanez's book Truly Mexican Makes a little more than 1 pint

1 1/2 pounds tomatoes (about 4 medium-large)
1 fresh serrano or jalapeno chile, coarsely chopped, including seeds
1 large garlic clove, smashed and peeled
2 tablespoons mild olive oil 
2/3 cup diced white onion
1/2 teaspoon sugar
3/4 teaspoon kosher salt, or rounded 1/4 teaspoon fine salt
1 (1-inch) piece canela (Mexican cinnamon) or regular cinnamon, or 1/4 teaspoon ground cinnamon


Set the oven or toaster oven to broil and preheat. Alternatively, you can preheat the oven to 500 degrees F. If you’re using the broiler, position the rack 8 inches from the heat source.

Core tomatoes and cut a small "X" through the skin on the opposite end of the core. This will make it easier to slip off the skin. Roast the tomatoes (Santibanez recommends cored sides up but I did the opposite) on a foil-lined baking pan until their tops have blackened and the tomatoes are cooked all the way through, 20 to 30 minutes. Remove from the oven and set aside for 5-10 minutes to cool. Then slip off the skins.

Put the tomatoes, chile, and garlic in the blender jar, and blend until smooth. Alternatively, transfer them to a large bowl and use an immersion blender to puree the mixture. Either way, be careful when you’re blending hot ingredients: if using a blender, cover the top with a kitchen towel, hold the top firmly in place with your hand, and start blending using short pulses before going on full speed, to avoid an explosion.

Heat the oil in a medium heavy saucepan over medium heat. Add the onion and cook, stirring, until the onion is translucent, about 5 minutes. Add the tomato mixture, and bring to a boil. As the tomato mixture is cooking, swish 1/4 cup of water around in the blender jar and add it to the pan. If you used a bowl and immersion blender, you can do the same, and use a spatula to scrape the bits of sauce from the bowl into the pan. Reduce the heat, stir in the sugar, salt, and cinnamon, and simmer the sauce, stirring occasionally, until it has thickened slightly, about 20 minutes.

The sauce will keep for at least a week in the refrigerator; Santibanez says it keeps in the freezer for one month, but I think that estimate is conservative.


Perfect Asian Quick-Pickles

1-DSC_0417 There are times when I get home from work, drop my bag, open the fridge, and dinner just jumps out at me. I see the garlic scapes on the middle shelf, the tomatoes on the counter, some good ricotta lurking in the back, and it's done: summer pasta.

But other times, despite what others surely would call a full fridge, I can't seem to find anything to make. Last Wednesday was one of those times, and I'll have you know that I came this close to running down the street and grabbing a rice bowl--before an idea popped into my head.

1-DSC_0422


A couple weeks ago, friends had us over for a last-minute al fresco dinner. The plan was to fry up some of the squash blossoms that had bloomed in their garden; we figured the rest would come together. I brought a mondo salad and some fresh mozzarella to stuff in those squash blossoms. They pulled off some amazing Mexican elote-style corn and a bunch of other grilled things. But perhaps the star of the show - not to take away from the elote and the blossoms - was the appetizer, which they'd made with the help of Blue Apron.

If you don't know it, Blue Apron is one of these start-up cooking services that sends you perfectly portioned amounts of everything you need to make dinner for two at home. The ingredients seem high-quality, the instructions are clear, and the recipes are pretty creative. I've spent quite a bit of time on their website, and I've found about a dozen great ideas for easy, inexpensive dinners that you can make at home in about 30 minutes.

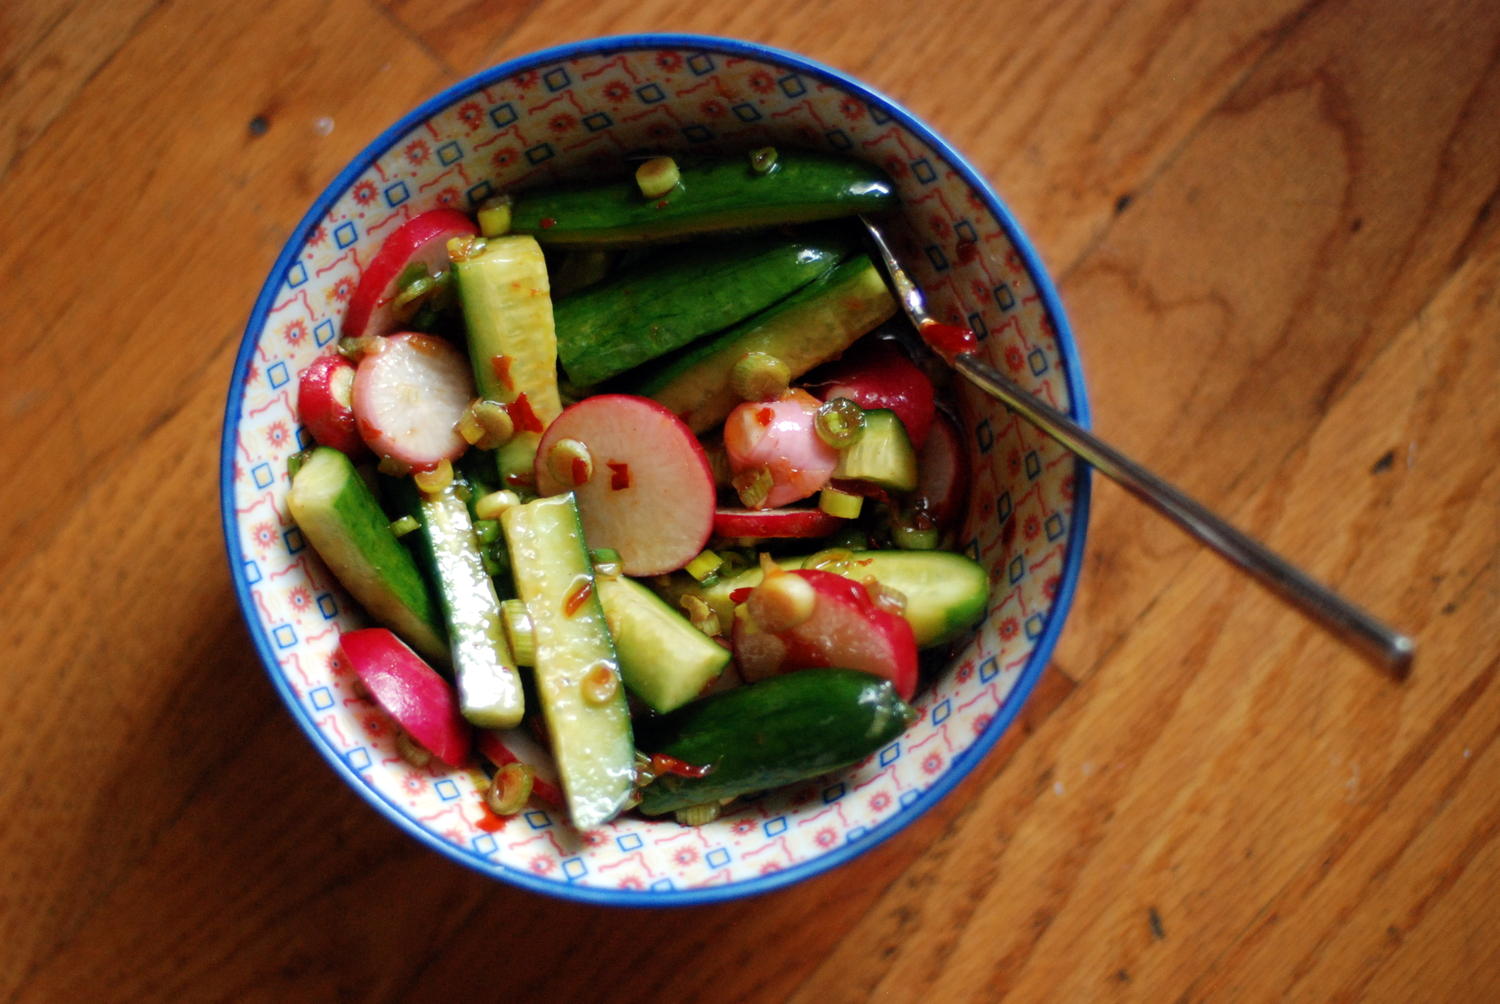
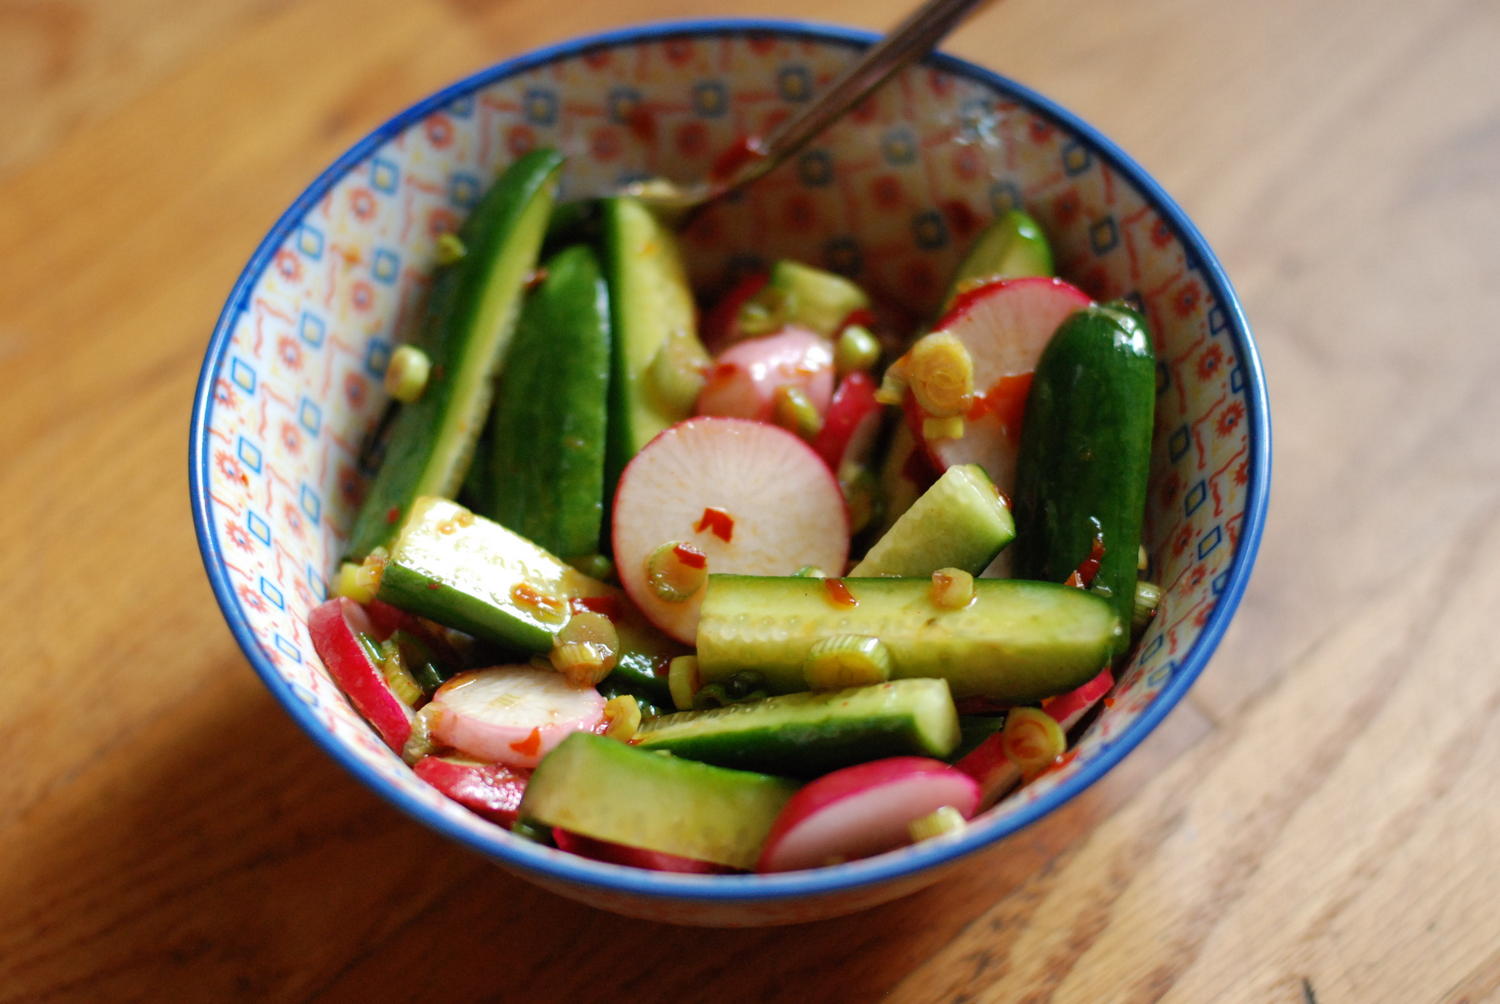
These pickles were an accompaniment to a Korean-style scallion pancake. We noshed on them while we finished getting dinner on the table, but I couldn't stop thinking about them for days, so I finally looked up the recipe and made them and the scallion pancake at home, rescuing my cash from the rice bowl place in the nick of time.

There is one ingredient in the pickles that you might not have lying around: black vinegar, also called Chinkiang vinegar. It's mellow and a little bit malty; I love it in a tofu stir fry, and it's perfect in these pickles. The one I have is available for 7 bucks on Amazon, but if you can't find it, you can substitute an equal amount of rice wine vinegar and if you have it, add a teaspoon or so of sorghum molasses for that smoky, malty flavor.

Perfect Asian Quick-Pickles Adapted from Blue Apron Makes enough for 4 as a snack

2 Kirby or Persian cucumbers, halved crosswise and cut lengthwise into quarters 4 radishes, cut into thick coins 1 garlic scape, coined (or substitute 1 scallion) 2 teaspoons sesame oil 1 tablespoon soy sauce 1 tablespoon Chinese black vinegar (or substitute an equal amount of rice vinegar with a teaspoon of molasses) 1 teaspoon Sambal Oelek, sriracha, or other hot chile sauce, to taste

Combine all ingredients except the vegetables in a medium bowl and whisk with a fork to combine. Taste, and adjust the quantities of chile, vinegar, and soy sauce as needed. Add vegetables, stir to coat with the marinade, and set aside for about 15 minutes before serving.


Ina Garten's Sagaponack Corn Pudding

1-DSC_0317 The experts report that corn pudding is a specific thing. Before angering the purists with this hacked-up version, I figured I'd look into what the original actually is. After an earnest attempt to track down true corn pudding, I'm here to report - somewhat cheerily? - that Google is so full of riffs and adaptations, it's nearly impossible to find a source that records the original dish.

From what I can tell, true corn pudding is like a souffle, made with the pulp and juices left over after you've cut the kernels off an ear of corn. In Amanda Hesser's version, you need 14 ears of corn to get enough pulp for one 9-inch baking dish.

I had 8 ears, and I didn't have other plans for the kernels. I wanted something that could make use of them, and I really didn't want it to be fussy. I was drawn to the puffed-up, cloud-like spoonbread that Deb shared from Cook's Illustrated a while back, but it called for three too many bowls and I was in a hurry.

Fortunately, Ina came to the rescue with something called Sagaponack Corn Pudding, which she claims converted her from corn pudding skeptic to lover. I wouldn't go that far (plus, who hates corn pudding?), but it's a sturdy dish that can be mixed and/or baked well in advance, held in a hot oven without deflating, and please even the few strange specimens who haven't been counting down the days until good corn finally comes back to the markets. (Weirdos.)

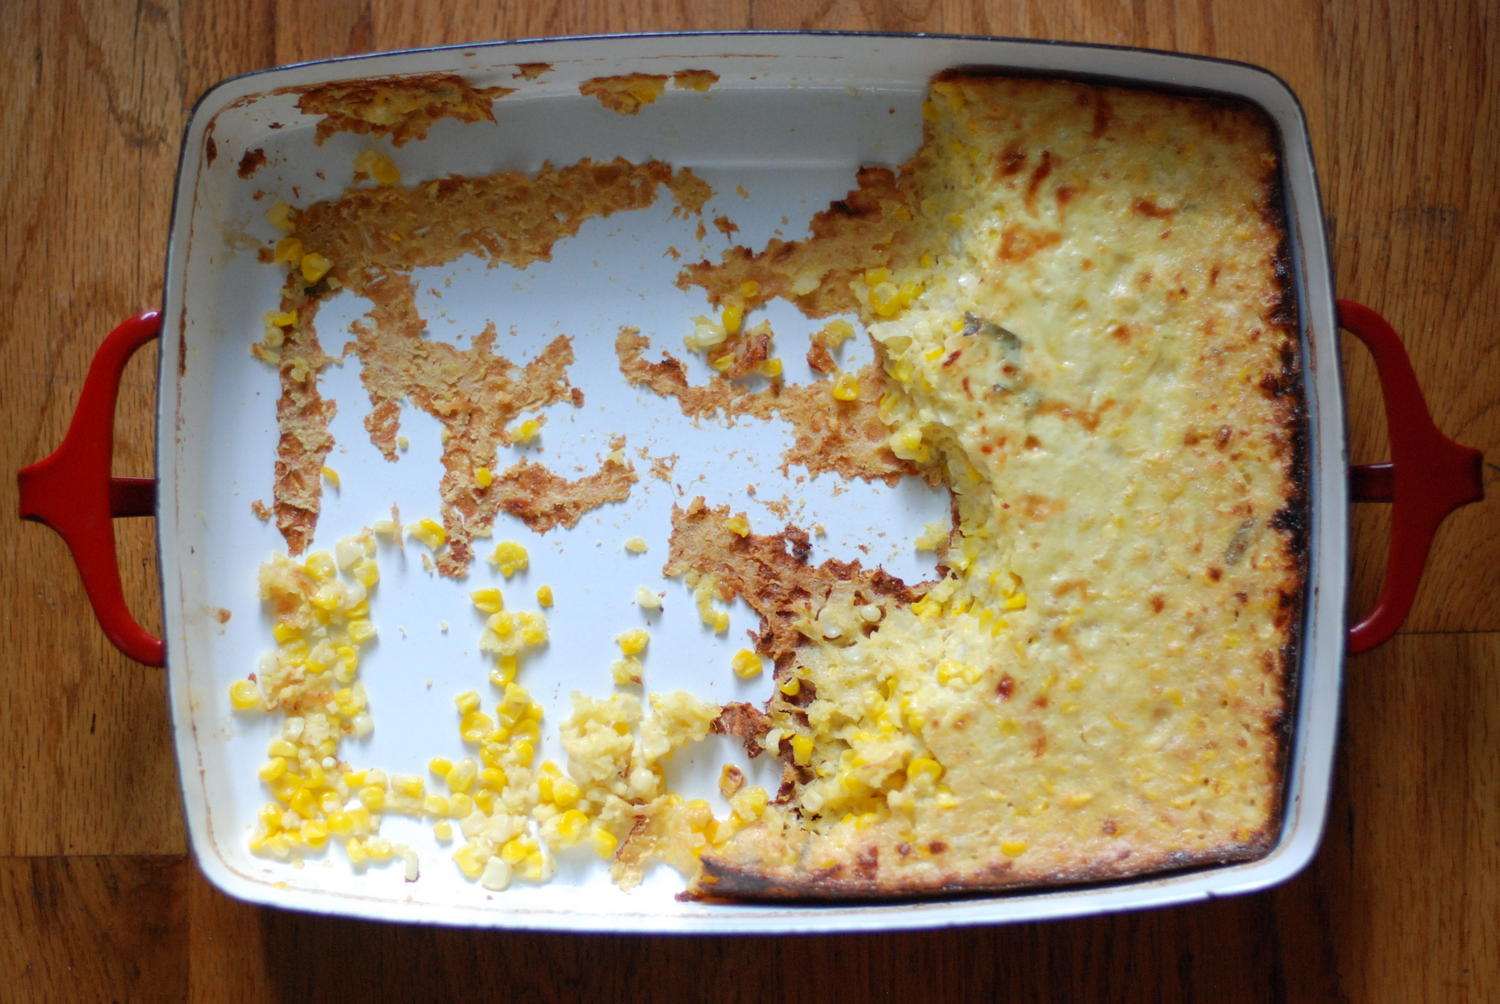
The notion of bringing a fluffy corn pudding to a potluck might sound strange, but I think this is made for such an occasion. It's great hot, for certain; but at room temperature, it turns craggy like a good frittata, just the type of thing to set alongside that green bean salad and all the tomatoes.

In summary: yes, this belongs at your Fourth of July gathering. And at any summer gathering thereafter.

Have a wonderful long weekend, folks, and enjoy the holiday.

Ina Garten's Sagaponack Corn Pudding adapted from the Barefoot Contessa website

Pretty loyal to the original, but I nixed the cheese in the pudding itself, opting only to sprinkle cheese on top. I also inadvertently skipped the part where you put your baking pan in a baking pan full of water - probably a psychological block to fussing so much on an already hot day - and the pudding came out great without the water bath. You're welcome.

1 stick (1/4 lb.) unsalted butter 5 cups fresh corn kernels cut off the cob (6 to 8 ears) 1 cup chopped yellow onion (about 1 large onion) 4 eggs (Ina uses extra large; I used 5 medium eggs, which worked well) 1 1/2 cups milk 1/2 cup heavy cream 1 cup ricotta cheese 1/2 cup fine yellow cornmeal 3 tablespoons chopped fresh basil leaves 1 tablespoon sugar 1 tablespoon kosher salt 3/4 teaspoon freshly ground black pepper 1/2 cup (4 ounces) grated cheddar or other cheese (Comte or Gruyere would also be nice here)

Preheat the oven to 375 degrees and butter the inside of an 8- to 10-cup baking dish (a 9x13 baking pan is perfect).

Melt the butter in a very large sauté pan and sauté the corn and onion over medium-high heat for 4 minutes, stirring occasionally. Set aside to cool.

Meanwhile, whisk together the eggs, milk, cream, and ricotta in a large bowl. Slowly whisk in the cornmeal. Add the basil, sugar, salt, and pepper. Add the cooked corn mixture and stir to combine, and then pour into the baking dish. Sprinkle the top with the grated Cheddar.

(At this stage, the pudding can be held in the fridge for several hours or up to 2 days before baking.)

Bake the pudding for 40 to 45 minutes, until the top begins to brown and a knife inserted in the center comes out clean. Serve warm or at room temperature.